Laying and caring for your turf

7 Steps to Success
Step 1 - Measuring and ordering
Step 2 - Ground and Soil Preparation
Step 3 - Installing your Roll on Lawn
Step 4 - Watering
Step 5 - Mowing
Step 6 - Fertilising & Maintenance follow up
Step 7 - Weed & Pest Control
* All information on this website should be used as a guide only if you are unsure about anything please contact one of our helpful staff who will be happy to assist.
* This information should be used as a guide only. Varying weather and soil conditions should be individually assessed.
* For optimum growth, turf needs sunlight, air, water and nutrients to flourish. Reducing any of these, or providing too much of any one, will result in the grass dying or suffering.
Step 1 - Measuring and ordering
Measure the planned lawn area. Length x Width = m² (square metres).
Always allow 1-2% extra for off-cuts that cannot be reused.
If the lawn is an irregular shape phone or email us for free advice.
Order and take delivery of the turf only when you have prepared your ground. The turf is perishable and should be laid on the day of delivery where possible.
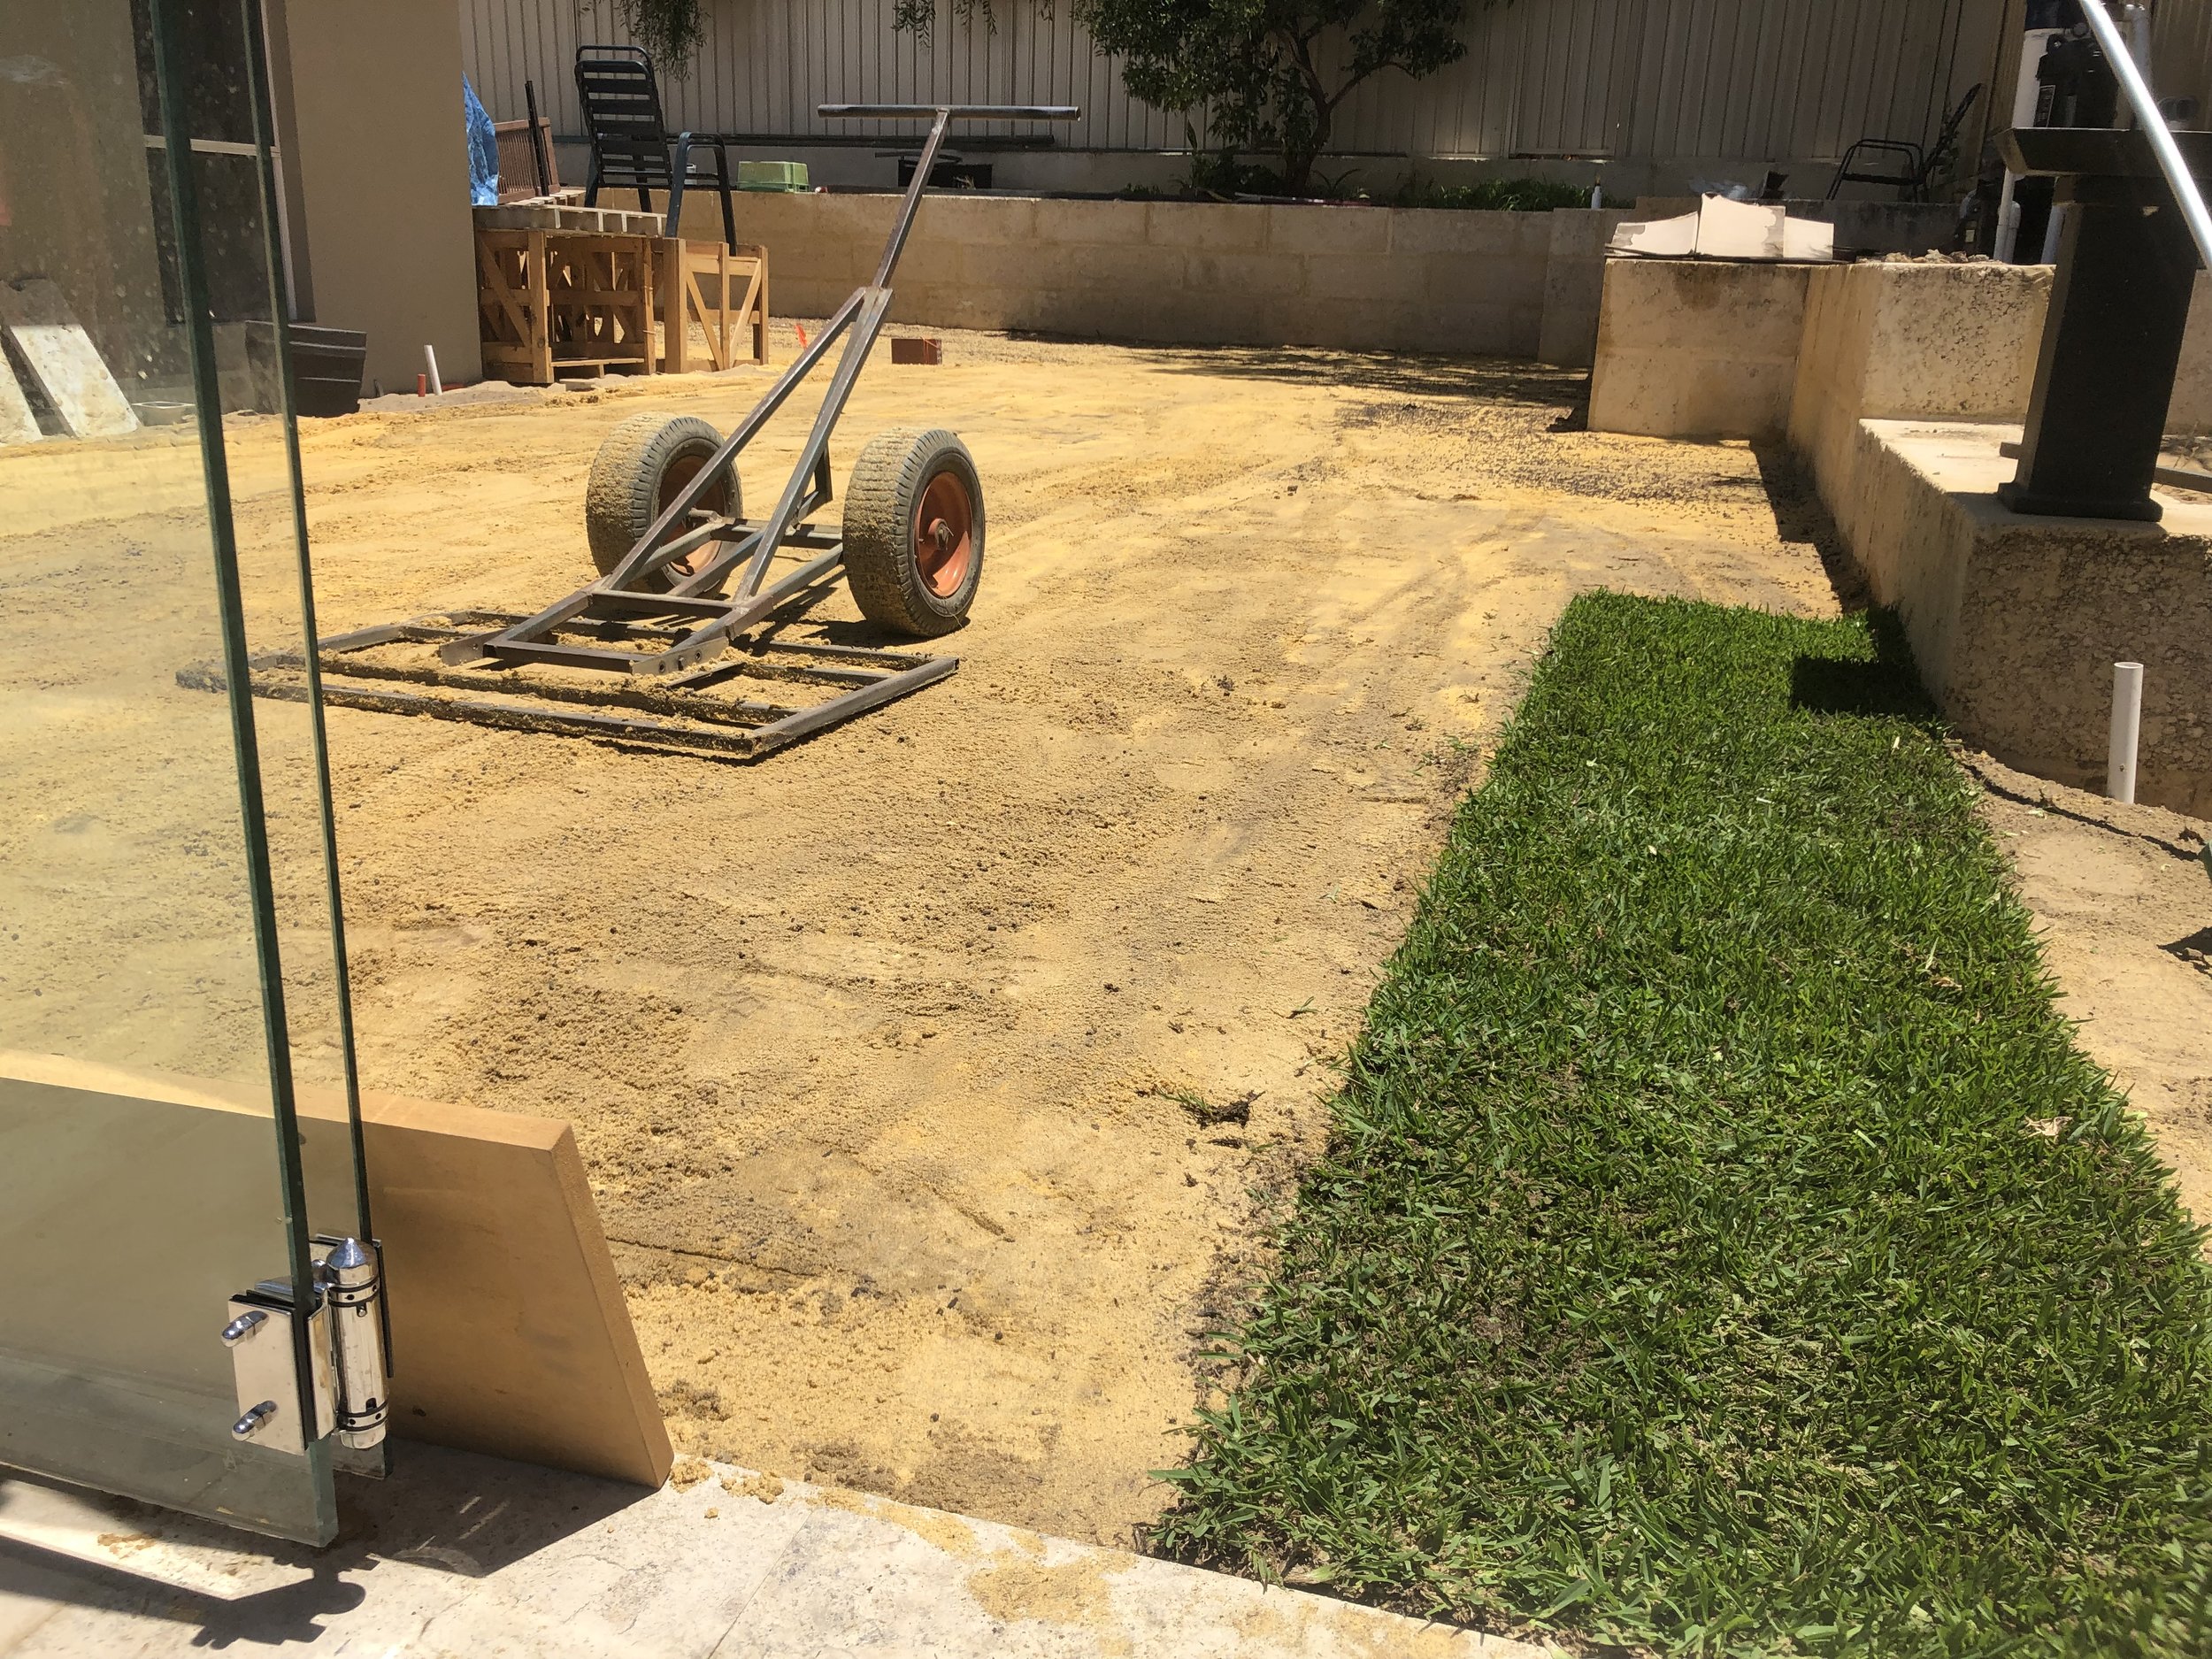
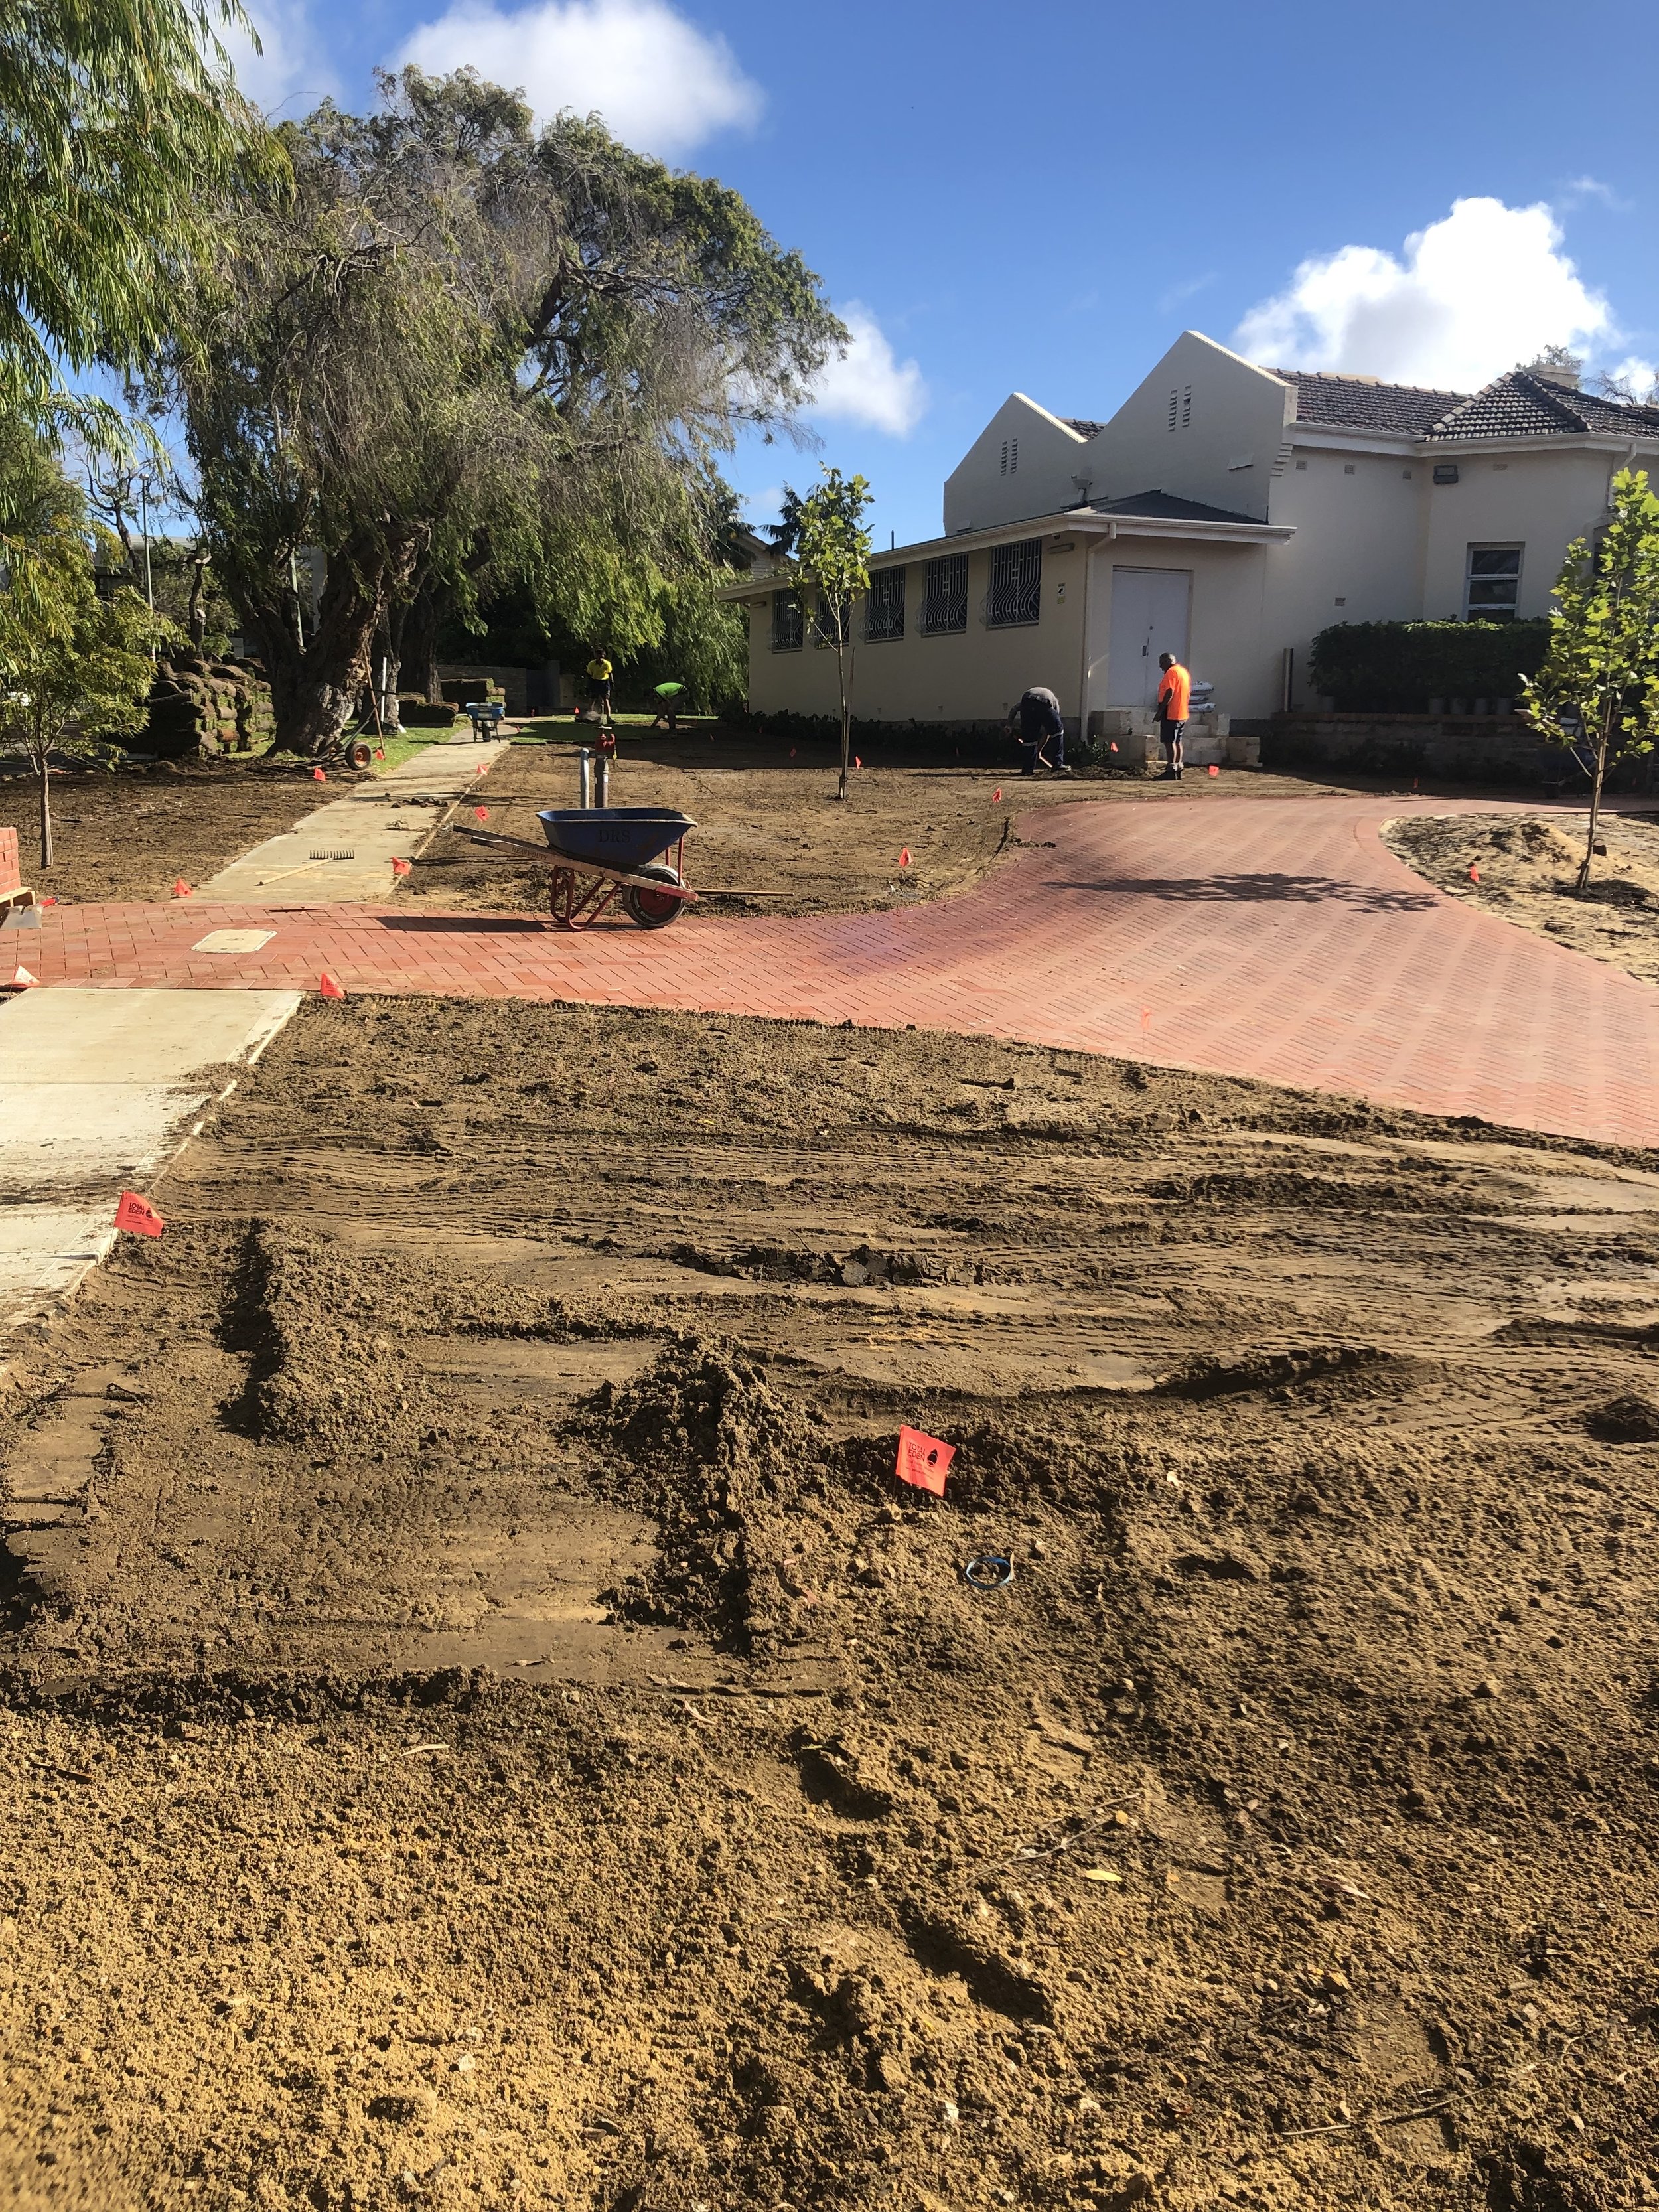
Step 2 - Ground and soil preparation
Grass obtains three of the four essential factors (air, water and nutrients) from the soil; many soils are less than suitable for growing grass. Some soils contain too much clay, which can result in compaction. This may cause the roots to smother and die due to air and water being unable to penetrate all the way to the roots of the lawn.
While some people don't fully understand the importance of good soils for their lawn, many believe they can save time and money by ignoring the need to improve their lawn's soil. Failing to improve the soil structure before planting is only creating a greater continual investment of money and time, that will never return its value as fully as preparing the soil properly before planting any lawn.
Many soils have inadequate pH levels (degree of acidity or alkalinity), resulting in it being too high or too low for optimum grass growth. A sandy loam, with a pH of 6.0 to 7.0 is the best soil for producing beautiful, healthy lawns. Unfortunately, this soil mixture is seldom found on any property after building has gone on.
Acidic pH 6.0 and below can be improved with the addition of lime. Alkaline soils pH 7.5 and higher can be improved with the addition of gypsum or sulphur.
If you are starting on an area with no existing lawn be sure to remove rubble, weeds and any other offensive objects.
If you have an existing lawn or weeds, it may need to be poisoned prior to preparation. This process can take sometime but is imperative when a more dominant lawn than the one you are introducing has existed. To thoroughly eradicate strong species, two applications of Roundup/Glyphosate non-residual spray, spaced 10 days apart may be necessary. See your local nurseryman for advice and always follow the manufacturer's instructions. After the suggested waiting time remove the dead surface.
Clay type soils should have Gypsum added at the rate of 1kg to 1m² plus medium grade sand to a depth of 50mm. Spread evenly over the area and thoroughly rotary hoe or dig into the top 100mm of clay base. In a poor soil situation it is essential to replace or rejuvenate the base to a depth of 100-110mm.
Rake and lightly roll the area. High spots should be evened off and low ones filled in until the area is firm and level. A simple gauge of firmness is that footprints should not be seen more than 10mm deep. Final levels should be approximately 25mm below pathways/boundaries if you are wanting to match up to existing levels.
We strongly advise a preplanting fertiliser be applied. Our Turf Starter Fertiliser developed in conjunction with Amazon Soils has been designed to go on top of the prepared ground and under the lawn at the time of laying. It will not burn your new turf. Ask our friendly staff to arrange delivery of required soil enhancing fertilisers.

Step 3 - Installing your roll on lawn
On a hot day, dampen the ground, area by area, just before laying the lawn. This will ensure the soil base is not hot, thus protecting the roots. Begin laying the turf along the longest straightest boundary line.
Butt and push edges against each other tightly without stretching. Avoid gaps and overlapping. Stagger the joints in a brick-like fashion - corners and overhang can be cut with a sharp knife to achieve your desired plan. Where possible try not to use smaller cuts or narrow strips at outer edges, as they will not retain their moisture as well. On slopes, place turf across the slope and if you are laying turf on a steep slope, the turf may need to be pegged or staked. To avoid causing indentations or pockets avoid repeated walking or kneeling on turf while it is being installed or just after watering. After installing the turf, smooth the area with a compactor roller to improve turf-to-soil contact, thereby avoiding air pockets. Turf is a living plant that requires ground contact and moisture to survive.
Use your newly laid lawn sparingly until good root establishment has taken place - two to three weeks. Avoid concentrated play activities, dog traffic or similar rough usage until established.
Step 4 - Watering

Watering Systems:
We highly recommend you to install a quality watering system, especially in larger lawn areas. It is given that most homeowners are using up to 50% more water than their landscaping requires. That's neither frugal for the piggy bank, nor beneficial for the lawn. Generally your watering is cut in half by the installation of an efficient irrigation system. The solution isn't just watering less but watering more scientifically: The right amount of water, evenly distributed in the right places at the right time. Any automatic system makes this possible. If you choose to use or have in place a manual system, simply increase its efficiency by attaching a timer to the tap.
Watering at installation:
Water your lawn within half an hour of installation. Ideally, watering should begin as soon as an area large enough to put down a sprinkler is ready. It is vital that enough water is put down the first time to thoroughly soak the turf and the soil under the turf. You can check the moisture content by lifting a flap of the turf and sticking your finger into the soil. It should be moist 30-50mm deep. By giving the turf a heavy first watering you will rid the area of any air pockets, which dry out. It is vital your lawn is kept moist enough to survive hot, dry and windy conditions. In cool weather this may mean watering only every 3 or 4 days. In very hot weather you may have to water 3 times a day. Do not allow the turf or soil underneath to dry out between waterings. Pay special attention to the corners and edges of newly turfed areas, they tend to dry our sooner and they are hard to water properly. Hand watering of these areas is best during establishment. The lawn must then stay extremely damp for the next 14 days.
After 14 days:
After this time the turf will have started to root and you should begin a more regular watering routine. Less frequent but deeper watering is recommended. This encourages deep rooting, which is vital in achieving drought tolerancy. Shallow waterings cause the root system to grow near the surface. Over time the roots will follow the water down into the soil and you will have lush healthy turf. Water near buildings, pavements and reflective areas more often as the turf will be drier. Water anytime the turf has a dry pale blue/grey colour or if the grass does not spring back after walking on it. Ideally, water in the early morning as evaporation from the leaf is quite rapid.
Please note: A newly laid lawn will take up to 12 months before it has established a deep enough root system to achieve its maximum drought tolerance. Therefore, your new lawn will require more water during its first summer, to enable it to develop to its full potential.

Step 5 - Mowing
After approximately 14 days, when watering cycles are normal, the ground will have firmed a little and you can mow (just remove the tips of growth) and lightly fertilise. Mowing is important in that it strengthens the root system, making the lawn robust and vigorous.
Plateau Couch:
Plateau should ideally be mown every 3-5 weeks at a height of approx. 8-12mm during summer and in winter mow every 6-8 weeks and raise the mowing height to approx. 14-18mm. Raising the height fractionally over late autumn and winter will give better colour. DO NOT mow couch close in winter.
Winter green Couch, & Santa Anna Couch:
Wintergreen should ideally be mown every 10-14 days at a height of approx. 8-12mm during summer and in winter mow every 3-5 weeks and raise the mowing height to approx. 12-16mm. Raising the height fractionally over late autumn and winter will give better colour. DO NOT mow couch close in winter. Mowing at even lower levels can achieve putting green appearances.
Tall Fescue/Cool Season Grasses:
Fescue should ideally be mown every 10-14 days at a height of approx. 50mm during summer, this helps to shade the lawn and conserve moisture. In winter drop the mower to approximately 40mm; this will let the light and warmth into the lawn.
Supersoft Buffalo & Neergabby Buffalo:
Buffalo should ideally be mown every 10-14 days at a height of approx. 15-20mm during summer and in winter mow every 3-5 weeks at a similar height. Mowing at a higher level will improve drought tolerance and leaf softness.
Kikuyu:
Kikuyu should ideally be mown every 10-14 days at a height of approx. 12-16mm during summer and in winter mow every 3-5 weeks and raise the mowing height to approx. 16-20mm.
Bent:
Bent should ideally be mown every 4-5 days at a height of approx. 4-6mm during summer and in winter mow every 7-10 days and raise the mowing height to approx. 6-7mm.
For best appearance be sure to keep your mowing blades sharp.
Step 6 - Fertilising & Maintenance follow up
Fertilising
Once your lawn is established a general rule is to fertilise 6-7 times each year at a rate of approximately 1.5 to 2kg per 100m2.
Note: All fertilisers must be applied evenly to dry lawn and then irrigated thoroughly.
For leaf greenness a nitrogen-based fertiliser is used. It is common practice to mow you lawn lower prior to springtime fertilising. If the ground is uneven it is advisable to top dress (with a loam to match what has been used previously) and mow your lawn in the opposite direction. This will alleviate any irregular bumps. Your lawn will smother if loam is applied too heavy (one tonne per 100m2 is ample), brush to expose the leaf blade.
Thatch Control
All running grasses develop over a period of time what is known as thatch - this is a mixture of dead and decaying root and shoot tissue. A small to medium amount of thatch in a lawn is beneficial to its well being (less evaporation, better water retention, increased tolerance to wear and tear). However, where the accumulation of thatch reaches a point to impede water, air and fertiliser, then corrective measures must be adopted.
Scarifying
On Couch and Kikuyu, scarifying every two or three years will rid the lawn of excess thatch and make for a healthier, less spongy, better looking lawn . This can be accomplished by vigorous slicing through the turf with a scarifying rake, or contractors can carry out the necessary work by machine. After scarifying, the debris should be collected and then the lawn can be fertilised and well watered. Scarifying is best carried out in November or December.
Step 7 - Weed & Pest Control
There are numerous varieties of weeds and pests that can effect the growth and appearance of your lawn. West Coast Turf uses and recommends Display Weed Spraying Services (HDL998). For advice or to arrange a quote please contact Peter Watterston (08) 9249 7407 or Mobile 0411245223.
HINTS & TIPS FOR LAWNS IN WA - SOIL PREPARATION
Preparing your turf area
1. Clear the site - Remove all weeds and debris from the site. Debris includes; rocks, sticks and tree roots. Level the area with the back of a rake or levelling board to create a smooth and consistent soil surface approximately 30 - 50mm below the level of paths and driveways.
2. Prepare the soil for your turf area. Once all lawn and weeds have been removed cultivate the soil to a depth of 100mm, making sure the mix of soil is ready for the turf to be laid.
3. Level your soil for turf laying.
4. Most Perth soils are very sandy. Getting the grass to grow successfully requires proper soil maintenance. Lawn failures are often caused by poor soil conditions under the roots. The best soil texture for growing grass is a sandy loam – or to make it simple, a mix containing sand and organics of an 80/20 mix.
5. Turf ideally needs around 100mm of top soil to root in. This may be slightly less if the existing soil is of a good quality. With the correct preparation, the turf will start to have shallow roots in about two weeks. The key to getting these shallow roots to start is watering your new grass after the turf is laid. For the first 42 days in warmer months and the first 35 days in cooler months in WA, you can apply for an exemption from both the Water Corporation and the Department of Water, if you have a bore, to water daily. Please refer to the watering exemptions tables below. For your lawn to bed roots and establish, your lawn will need to be watered daily to keep the roots growing. Some key words to remember before laying turf:
Drainage – this allows the water to be free draining, but with enough organic matter to be able to hold onto sufficient amounts to encourage turf growth.
Wetting agents – especially in a lot of our sandy soils, the addition of premium quality wetting agents, in liquid or granular form, allows the holding of water in the soil profile, thus, allowing the roots of the turf to be able to draw from.
Organics – having even only a small percentage of organics allows the soil to retain moisture, nutrients and encourage initial root growth.
Biology stimulation – the quicker the biology happens in the soil, the healthier the turf will be.
Water – very important for early establishment. The healthier the soil, the less water will be needed in the longer term.
Nutrients – making sure the correct nutrients are applied for early establishment. If the pH and all nutrients are available before the turf is laid, then instant root growth will start, and top growth will follow. A good example of a premium lawn mix is Amazon Soils Lawn Blend. This is a nutrient enriched compost and sand blend. It is ideal for use as both an underlay and topdressing soil for all types of turf. Its blend of finely composted organic matter and natural washed sand provides an ideal base for all lawns
To calculate the volume of material required, first work out the area in square metres, and then multiply by the depth to get the cubic metres. Typically, you might need 100mm or 150mm of turf underlay (0.1 or 0.15 metres). Example 1 – You have a rectangle measuring 10m x 6m and need to add 100mm of turf underlay soil.
The working out for this would be 10 x 6 x 0.1 = 6m3 of soil mix
Soil Preparation Recommendations/specifications of TURF GROWING in open space and Lawns, for sandy soils To achieve a healthy lawn, your soil will ideally be made up of a balance of organic matter, sand, silt and clay. This is called loam soil. Loam soil holds moisture but also drains well when you water the lawn. It retains nutrients and allows air flow, making it the most ideal soil for plants.